ChaosCenter with OAuth2 Login Support
Prerequisites
Before deploying LitmusChaos, make sure the following items are there
Kubernetes 1.17 or later
A Persistent volume of 20GB
note
Recommend to have a Persistent volume(PV) of 20GB, You can start with 1GB for test purposes as well. This PV is used as persistent storage to store the chaos config and chaos-metrics in the Portal. By default, litmus install would use the default storage class to allocate the PV. Provide this value
Atleast one of the following
- Google Oauth credentials
- GitHub Oauth credentials
Deploy Dex OIDC provider#
In order to enable OAuth2 and to be able to login via Google and GitHub, litmus uses Dex OIDC
Make sure you have your Google and GitHub Client credentials ready, if you do not have them, you can generate one yourself
- Guide to generating Google Oauth Client Credentials
- Guide to generating GitHub OAuth Client Credentials
Configuring Dex OIDC provider#
curl https://raw.githubusercontent.com/litmuschaos/litmus/8d025a2f3101990a1acc002612fbe7281dcbfb4d/litmus-portal/dex-server/dex-deployment.yaml --output dex-deployment.yaml- Open the file with your favorite text-editor
- You will find the following
config-mapwith some data, replace your data as the comments suggestsissuer: http://<NODE_IP>:32000 # Replace your NODE_IP herestorage: type: kubernetes config: inCluster: trueweb: http: 0.0.0.0:5556staticClients: - id: LitmusPortalAuthBackend redirectURIs: - '/auth/dex/callback' - 'http://localhost:8080/auth/dex/callback' # Included for local testing purposes name: 'LitmusPortalAuthBackend' secret: ZXhhbXBsZS1hcHAtc2VjcmV0oauth2: skipApprovalScreen: trueconnectors: - type: google id: google name: Google config: clientID: # Add your Google Client ID here clientSecret: # Add your Google Client Secret here redirectURI: http://<NODE_IP>:32000 # Replace your NODE_IP here - type: github id: github name: GitHub config: clientID: # Add your GitHub Client ID here clientSecret: # Add your GitHub Client Secret here redirectURI: http://<NODE_IP>:32000/callback # Replace your NODE_IP here
Note: The Dex OIDC provider runs at NODE_IP:32000 by default
After the configuration, deploy the Dex deployment using the following command:
kubectl apply -f dex-deployment.yamlYou should now see the dex-server deployed in the litmus namespace!
kubectl get pods -n litmusNAME READY STATUS RESTARTS AGElitmusportal-dex-server-7f7658b57-lbbxc 1/1 Running 0 107slitmusportal-frontend-74d456746f-56v9x 1/1 Running 0 5m57slitmusportal-server-9c4d85f57-5r6km 2/2 Running 0 5m57smongo-0 1/1 Running 0 5m57sConfiguring litmusportal-server to enable Dex features#
To set up Dex, we would require to modify our litmusportal-server a bit in order to communicate with Dex. This will be achieved by adding some environment variables
OIDC_ISSUER: The place where the Dex OIDC lives, i.eNODE_IP:32000DEX_ENABLED: This variable enables dex features in the litmusportal-serverCALLBACK_URL: This is the url that will be called back after user completes thier OAuth, this will be the litmusportal-frontend service
Set your variables using
kubectl set env deployment/litmusportal-server -n litmus --containers="auth-server" DEX_SERVER="true", OIDC_ISSUER=<REPLACE_NODE_IP>:32000, CALLBACK_URL=<REPLACE_litmusportal_frontend_Service>Your litmusportal-server pod will be restarted and Dex features will be enabled!
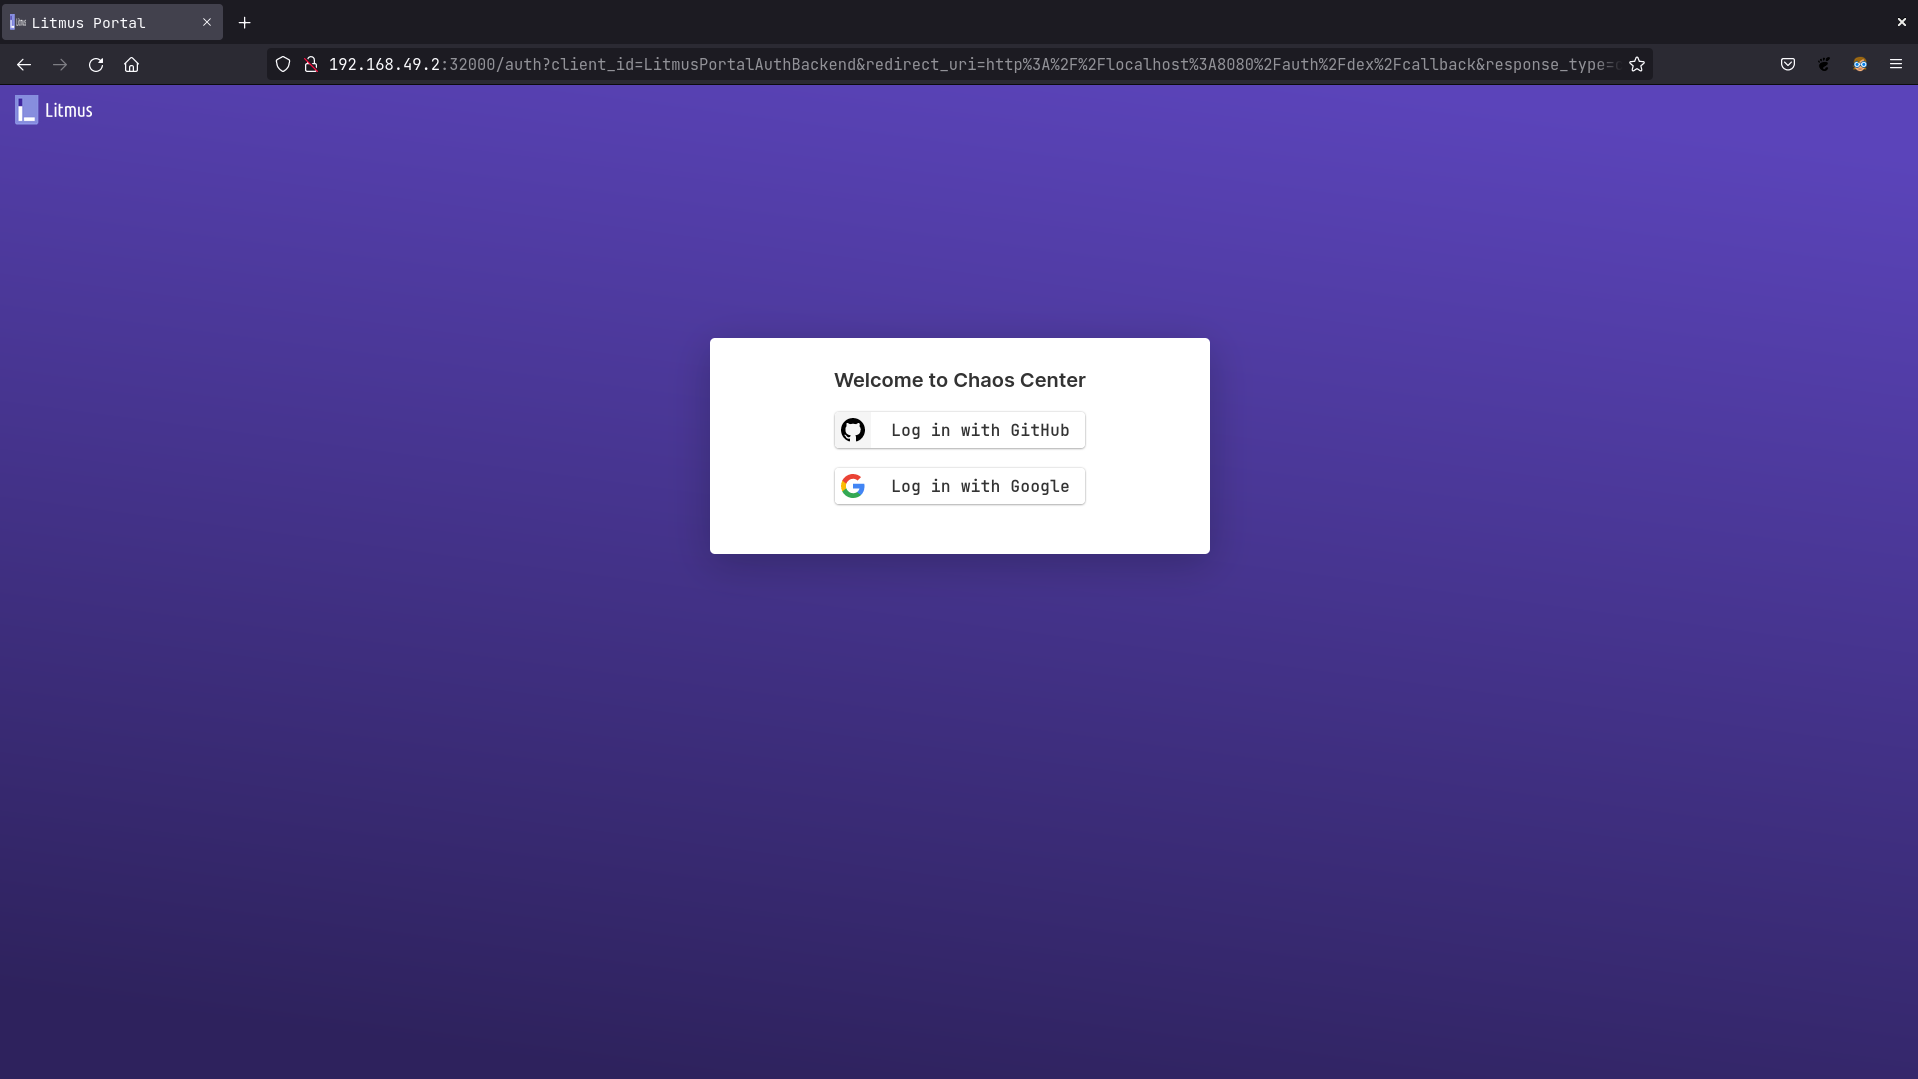
Verifying if OAuth2 is enabled#
Go to http://litmusportal-frontend-service/auth/dex/login, you should be prompted with Google or GitHub login