Schedule a Workflow
Before you begin#
You must connect an Agent before scheduling a workflow. There might be a default Self-Agent automatically created or you can connect an external Agent.
Click on the Schedule a workflow button on the home page or Schedule workflow button in Litmus Workflows page to get started.
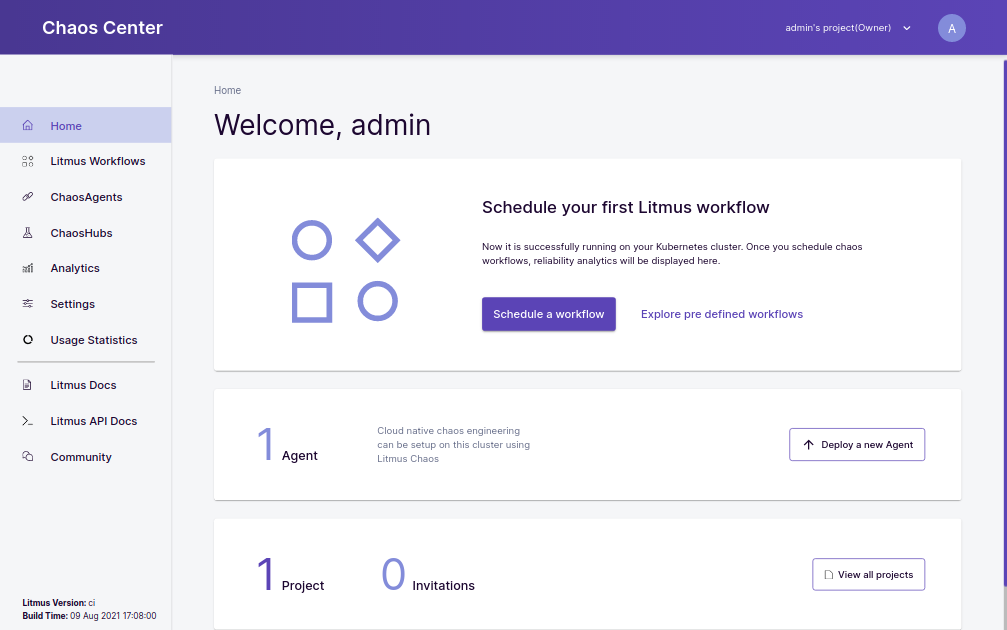 Home Page
It will take you to the Schedule a new Litmus workflow page where you can choose or design your own workflow by doing the following steps:
1. Choose target agent#
This is the first step in workflow creation. In this step, you can select a target agent where the chaos workflow will be scheduled. These agents consist of the CRDs and the required resources to run a chaos workflow. While installing the Litmus Portal, a default agent named Self Agent is created.
 Selecting an Agent
After Selecting the agent, you can continue by clicking on Next button.
Note: You may have to wait for the agent to be up and ready, after which you can move forward by again clicking on “Next” . Newly created users by the admin won't have any agent connected and thus won't be able to schedule a workflow. As non-admin users, you will get a message ‘No Cluster Registered With Your Project ID, Please Wait…’ if you try to create a workflow.
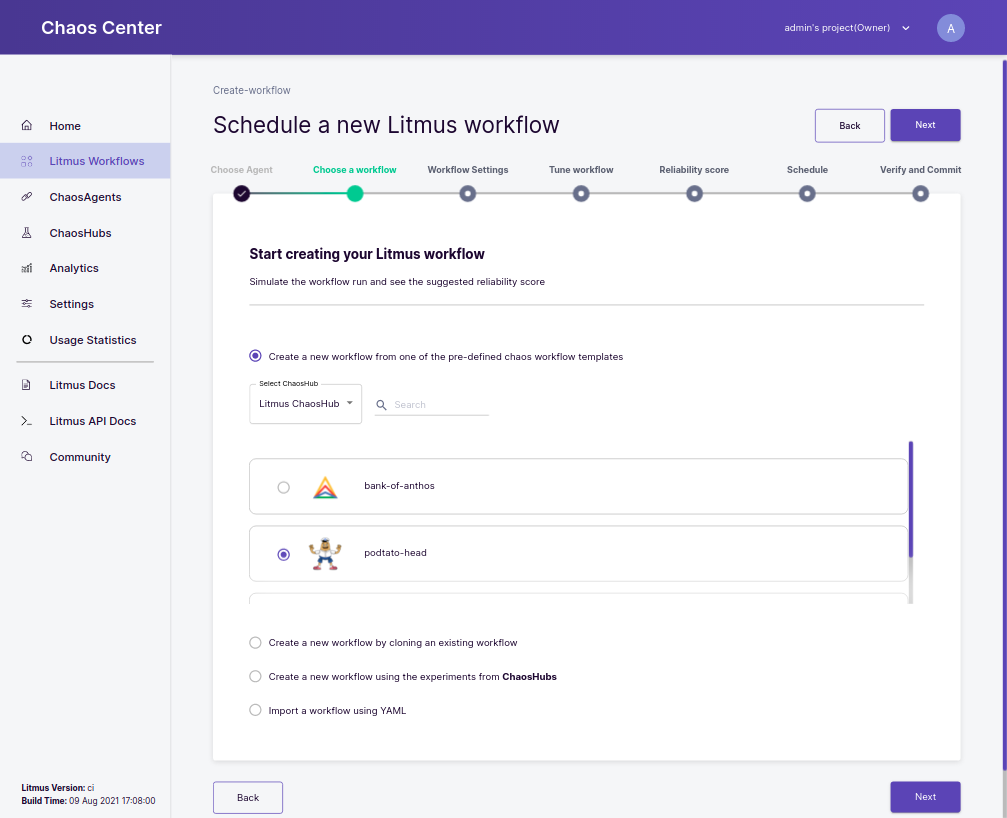
2. Choose a workflow#
 Choosing a Workflow
In this step, you can create a workflow from different methods, these include:
Create a new workflow from one of the pre-defined chaos workflows : With this option, you can select a pre-defined workflows which are available in the connected ChaosHub.
Create a new workflow by using cloned template workflow : With this option, you can create a new workflow from an existing one saved as a template. Choose on of the saved templates and tweak it according to your requirements.
Create a new workflow using experiments from MyHub : With this option, you can create customized workflows from the one of your connected ChaosHubs. With this option you can add multiple experiments from that ChaosHub either serially or in parallel to construct your workflow graphically.
Import workflow using YAML : With this option, you can import a hand-crafted/constructed chaos workflow manifest and tune it according to the use-case. You can also import a basic Argo workflow using this functionality.
note
For an uploaded workflow, the tune workflow functionality will not be available. The uploaded workflow is completely user-dependent or user-specific.
3. Workflow Settings#
In this section, you can change the name of the workflow and also provide a description to the workflow. This section also consists information regarding the namespace where the workflow will be scheduled.
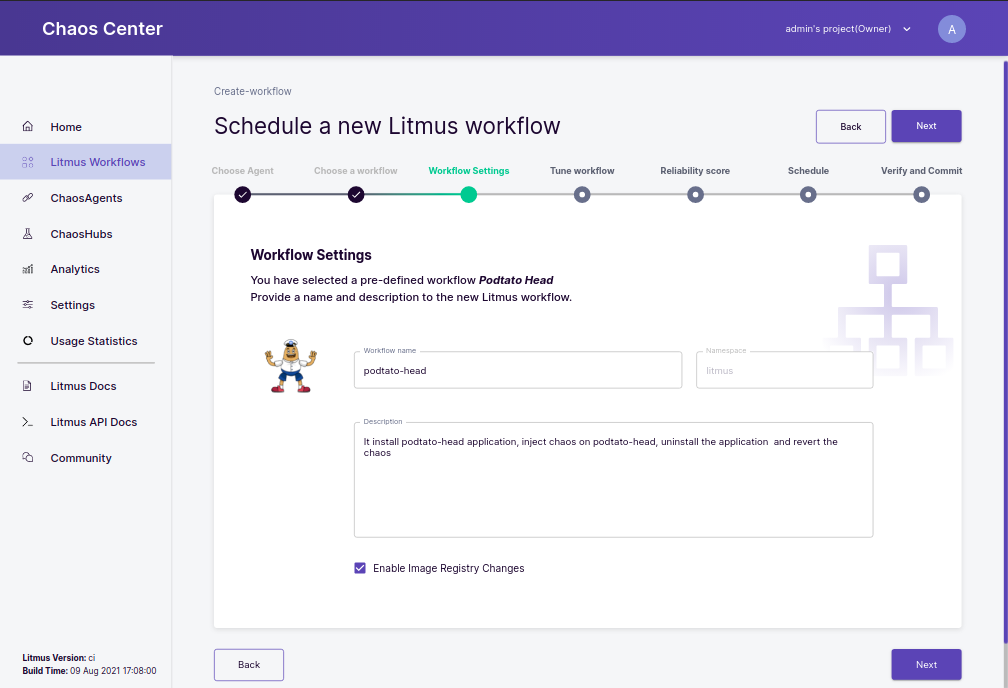 Change name and description
4. Tune the workflow#
This section consists of all the information related to the chaos workflow. Some new and advanced features that are present in this section are :
- Workflow Visualization : This feature allows you to visualize the workflow even before scheduling it. This gives a brief information related to the structure of workflow i.e if the experiments are present in serial or parallel way.
- Workflow Table : This table contains the list of experiments present in the workflow. It also consists of some valuable information related to the target applications.
- Add Experiment : If you have selected
Create a new workflow using experiments from MyHubin Choose a Workflow step, you can see aAdd a new experimentbutton, this will allow you to add more experiments to the workflow. - Edit Workflow : With this option, you can view and make changes in the workflow manifest with a YAML editor.
- Revert Chaos : For custom workflows, you can now enable or disable the revert step from the portal.
With revert step enabled, a new functionality called
podGCis also added which deletes the workflow pods after the completion of workflow as part of the clean-up process.
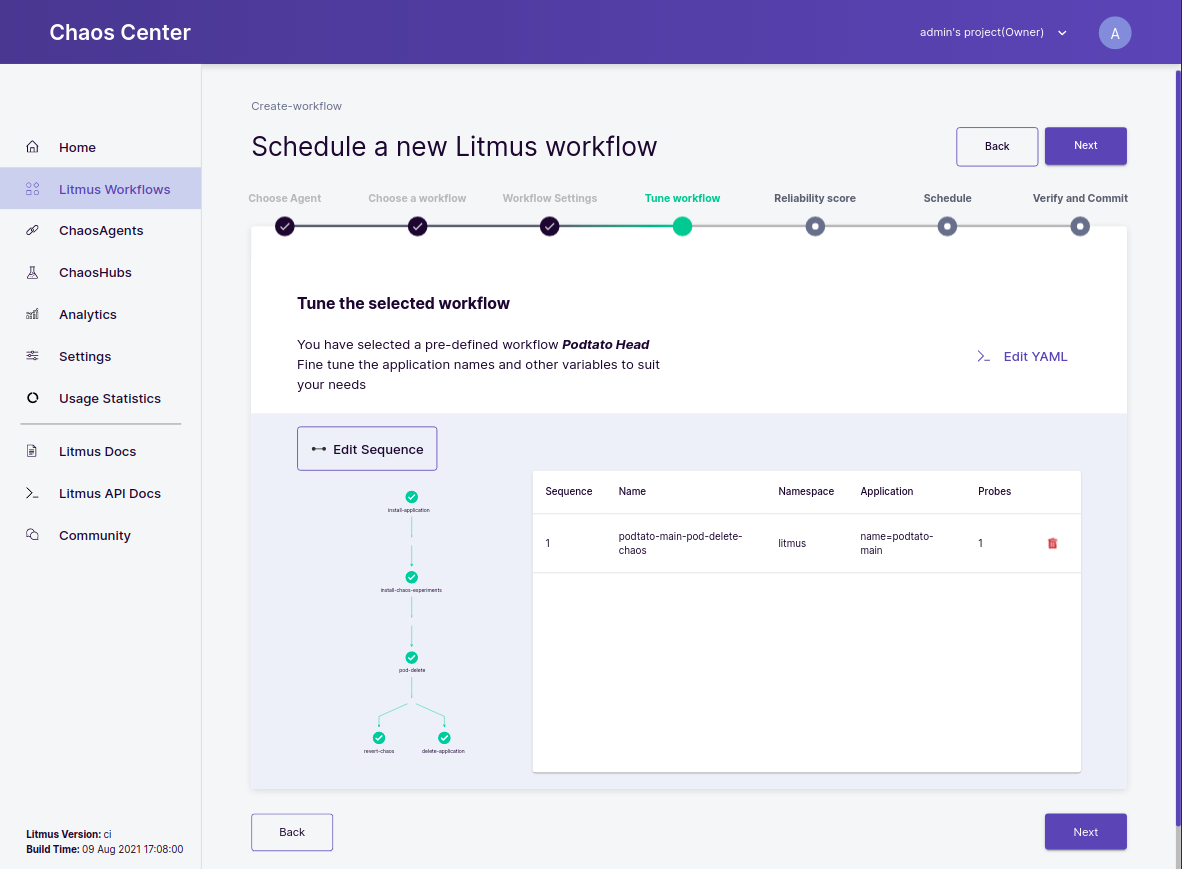 Tuning a Predefined Workflow (Podtato Head)
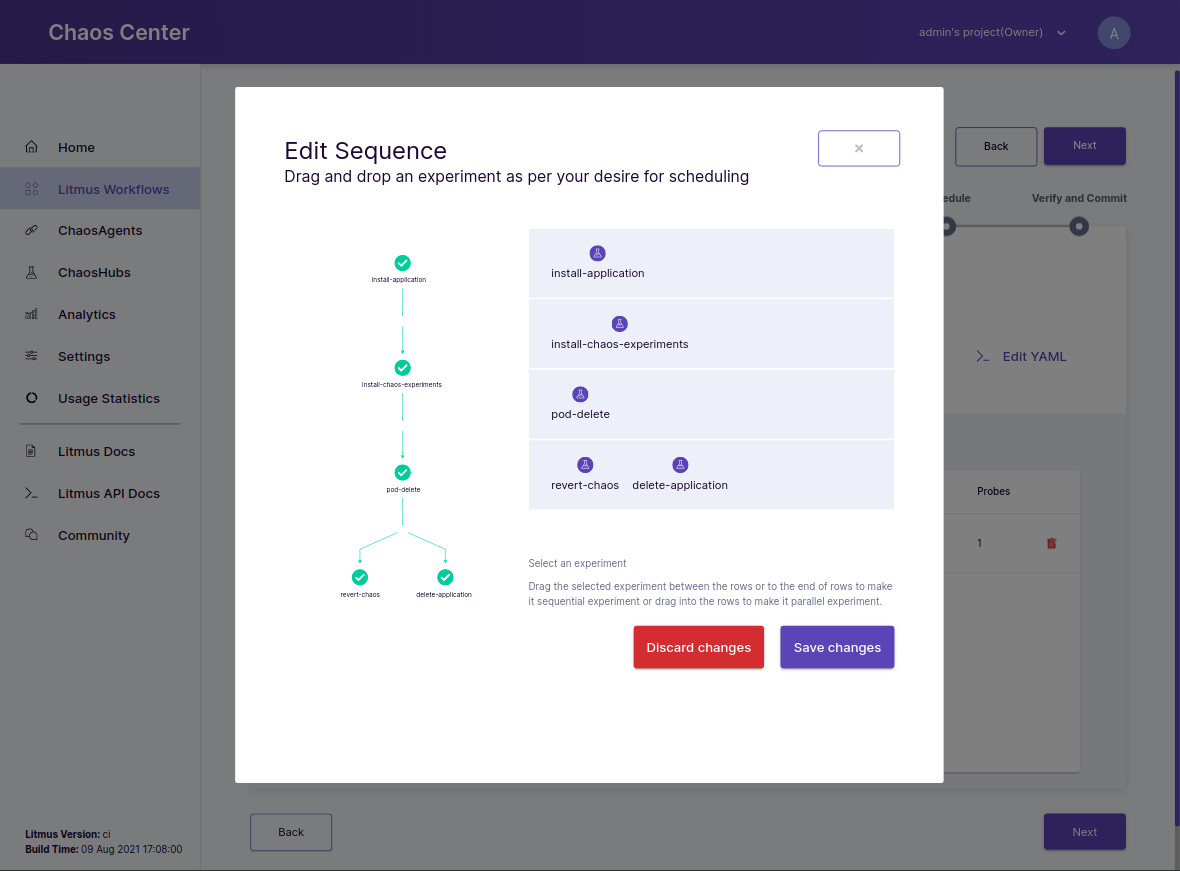 Editing Experiment Sequence
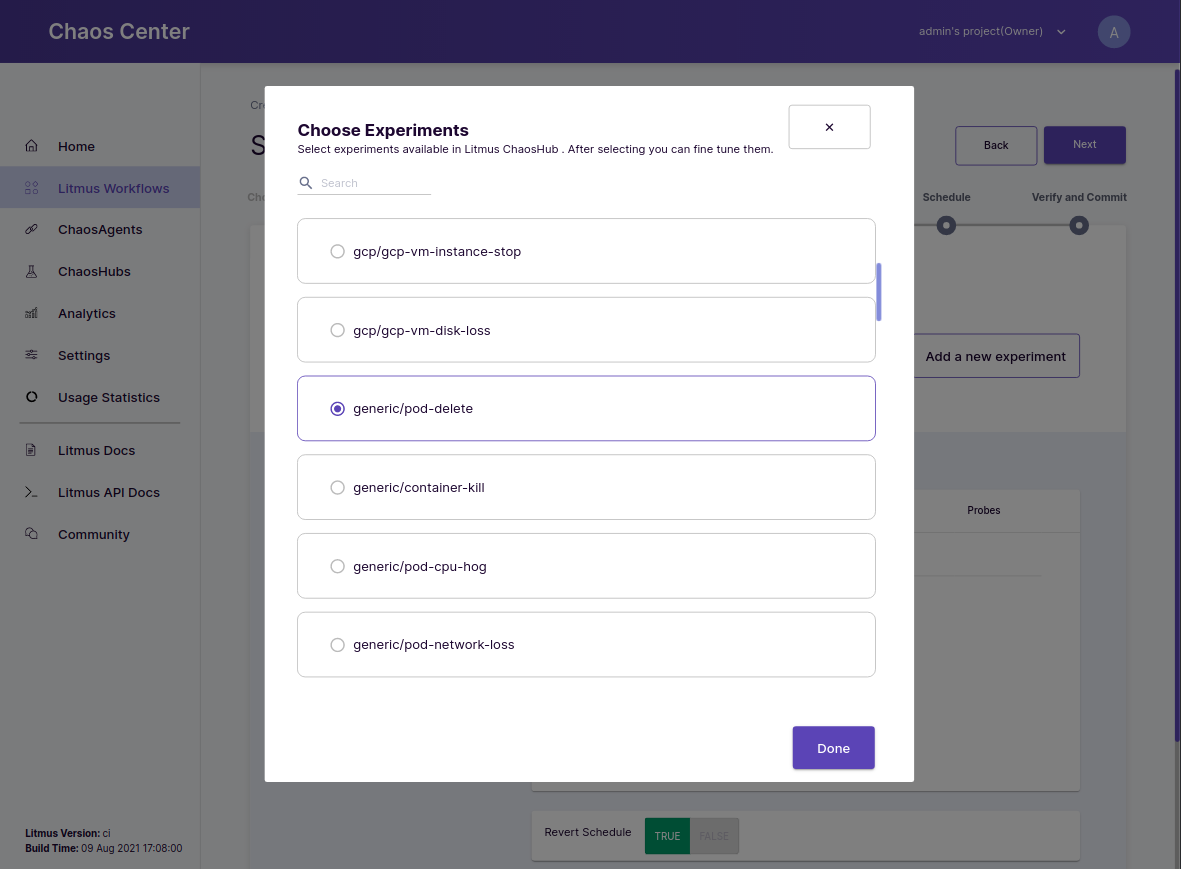 Adding Experiments to Workflow (Available after choosing a Hub in previous step)
Some of the other features that are included with Litmus Portal 2.0 are :
Target Selection : On the workflow table, you can select an experiment to edit the engine configuration directly from the portal. You can change the
annotationCheckandjobCleanUpPolicyaccording to the use-case. You can also target the application by selecting the namespace and the respective label of that application. We have added a functionality to fetch the live data from the selected agent like the available namespaces and resources that you can target.Defining the steady state for the application : With this step, you can add probes to your experiments. Probes are some additional checks that you can provide in your experiments. To know more about probes, you can visit here.
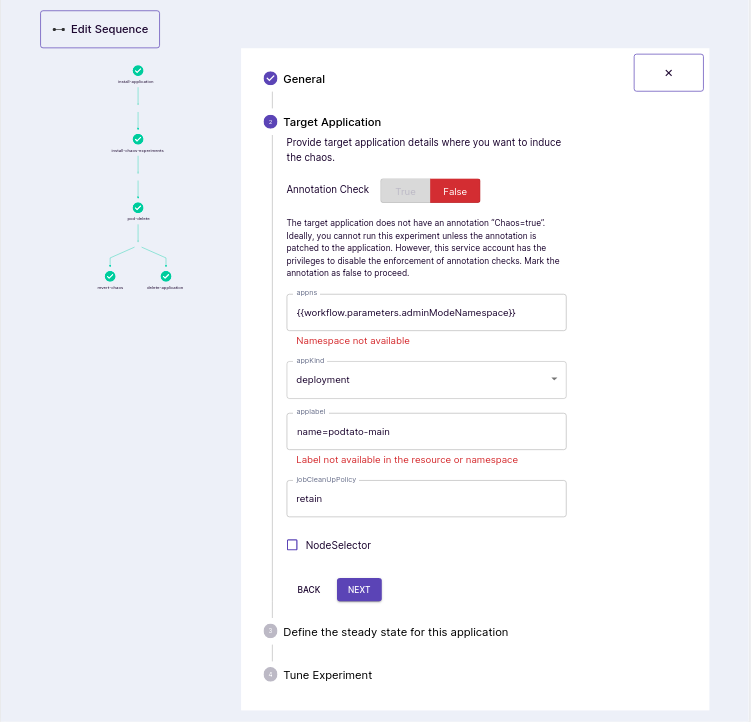
Target Selection
5. Assign weights to experiments#
In this step, you can assign weights to the experiments present in the workflow. These weights will be then used for the calculation of the resilience score after the workflow completion. By default, 10 points are assigned to each experiment. This can be altered as per your use-case.
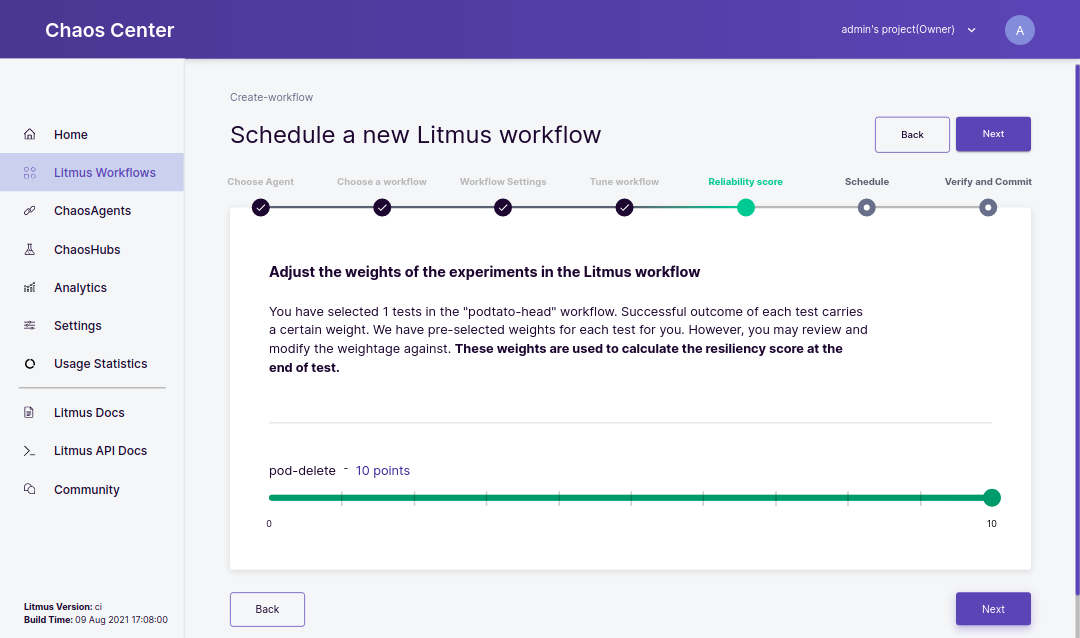 Adjust Experiment Weights
The Importance of Weights in experiments#
Giving a weightage to your experiment is a way of signifying/attaching the importance/priority of that experiment in your workflow. The higher the weight, the more importance it holds.
The weight priority is generally divided into three sections:
- 0-3: Low Priority
- 4-6: Medium Priority
- 7-10: High Priority
6. Schedule#
In this step, you can schedule the workflow in 2 ways:
- Schedule now : With this option, the workflow will start as soon as you schedule it.
- Recurring Schedule : This option will allow you to schedule the workflow in recurring ways. It converts a normal workflow to
Cronworkflow and a cron syntax is added in the workflow manifest. The following methods are available to schedule a workflow in recurring ways:- Every Hour
- Every Day
- Every Week
- Every Month
 Scheduling a Cron Workflow
7. Verify and commit#
This is the final step in workflow creation process. In this step, you can validate all the changes related to the workflow like the workflow name, the experiment weights, workflow description, workflow manifest etc. Once you have verified all the changes, you can click the Finish button to start the schedule.
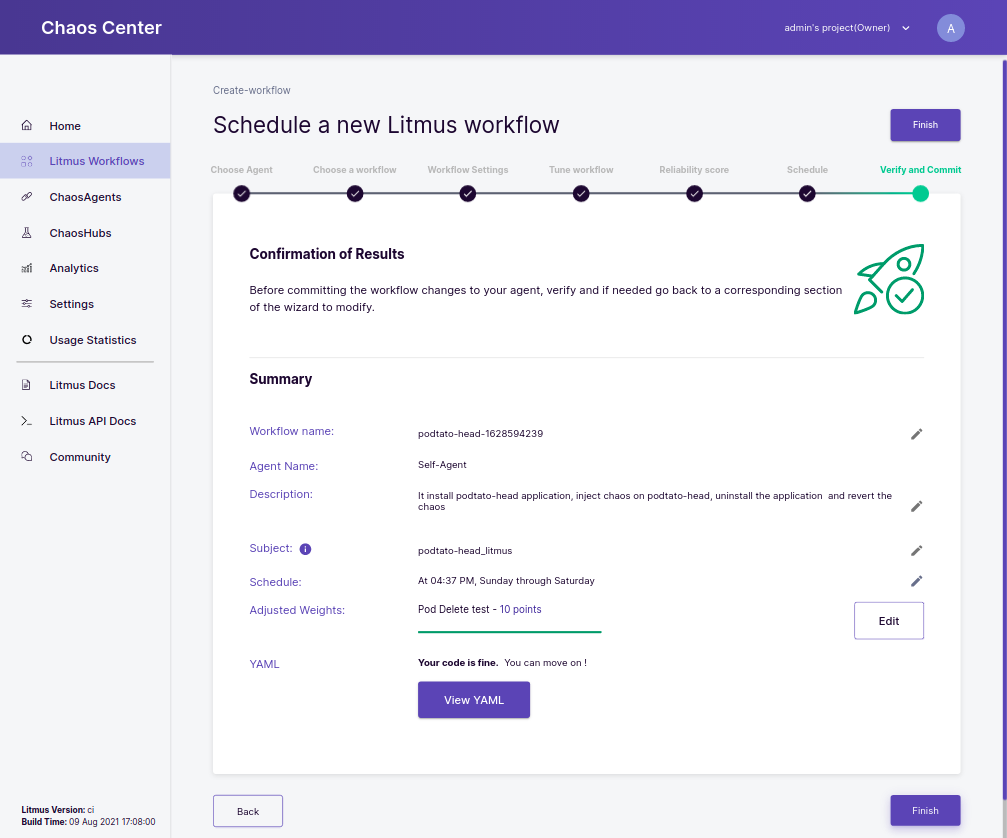 View Summary and Commit